Original: $120.72
-65%$120.72
$42.25The Story
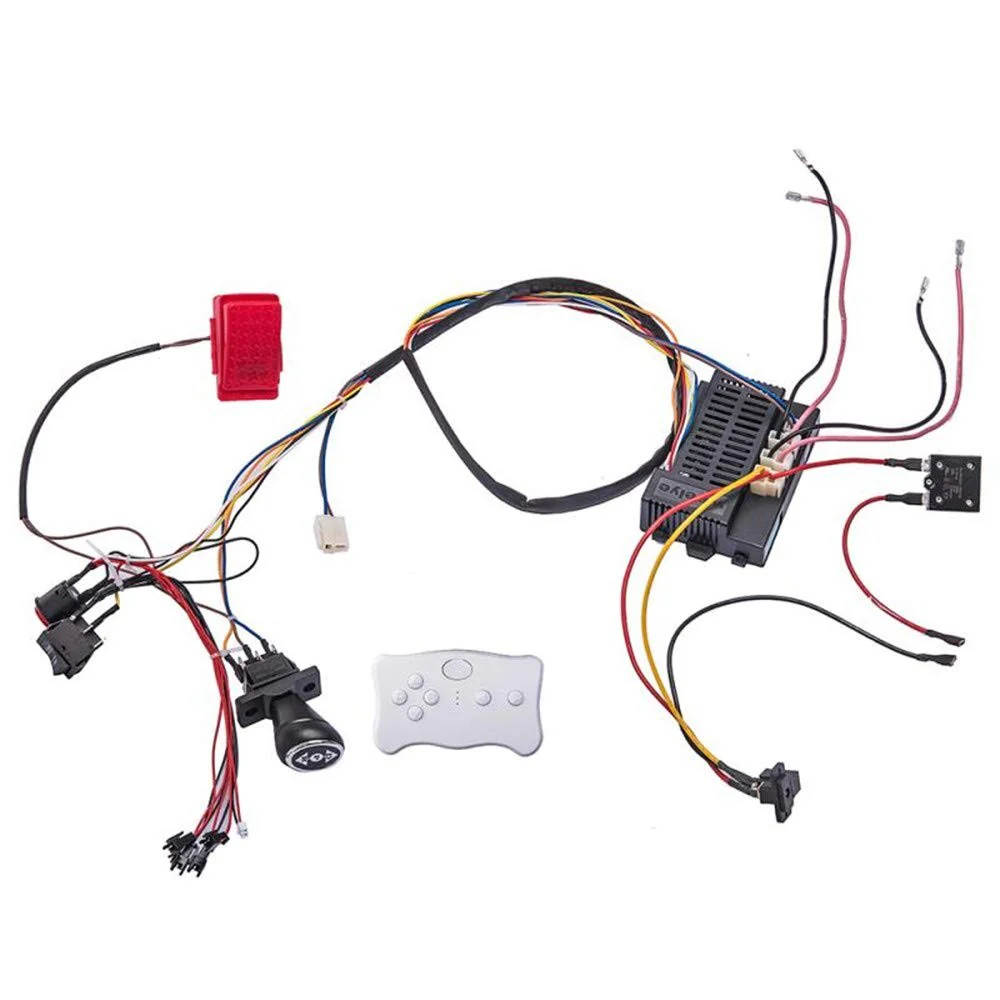
24 Volt Children Electric Car DIY Modified Wires and Switch Kit

Product Details
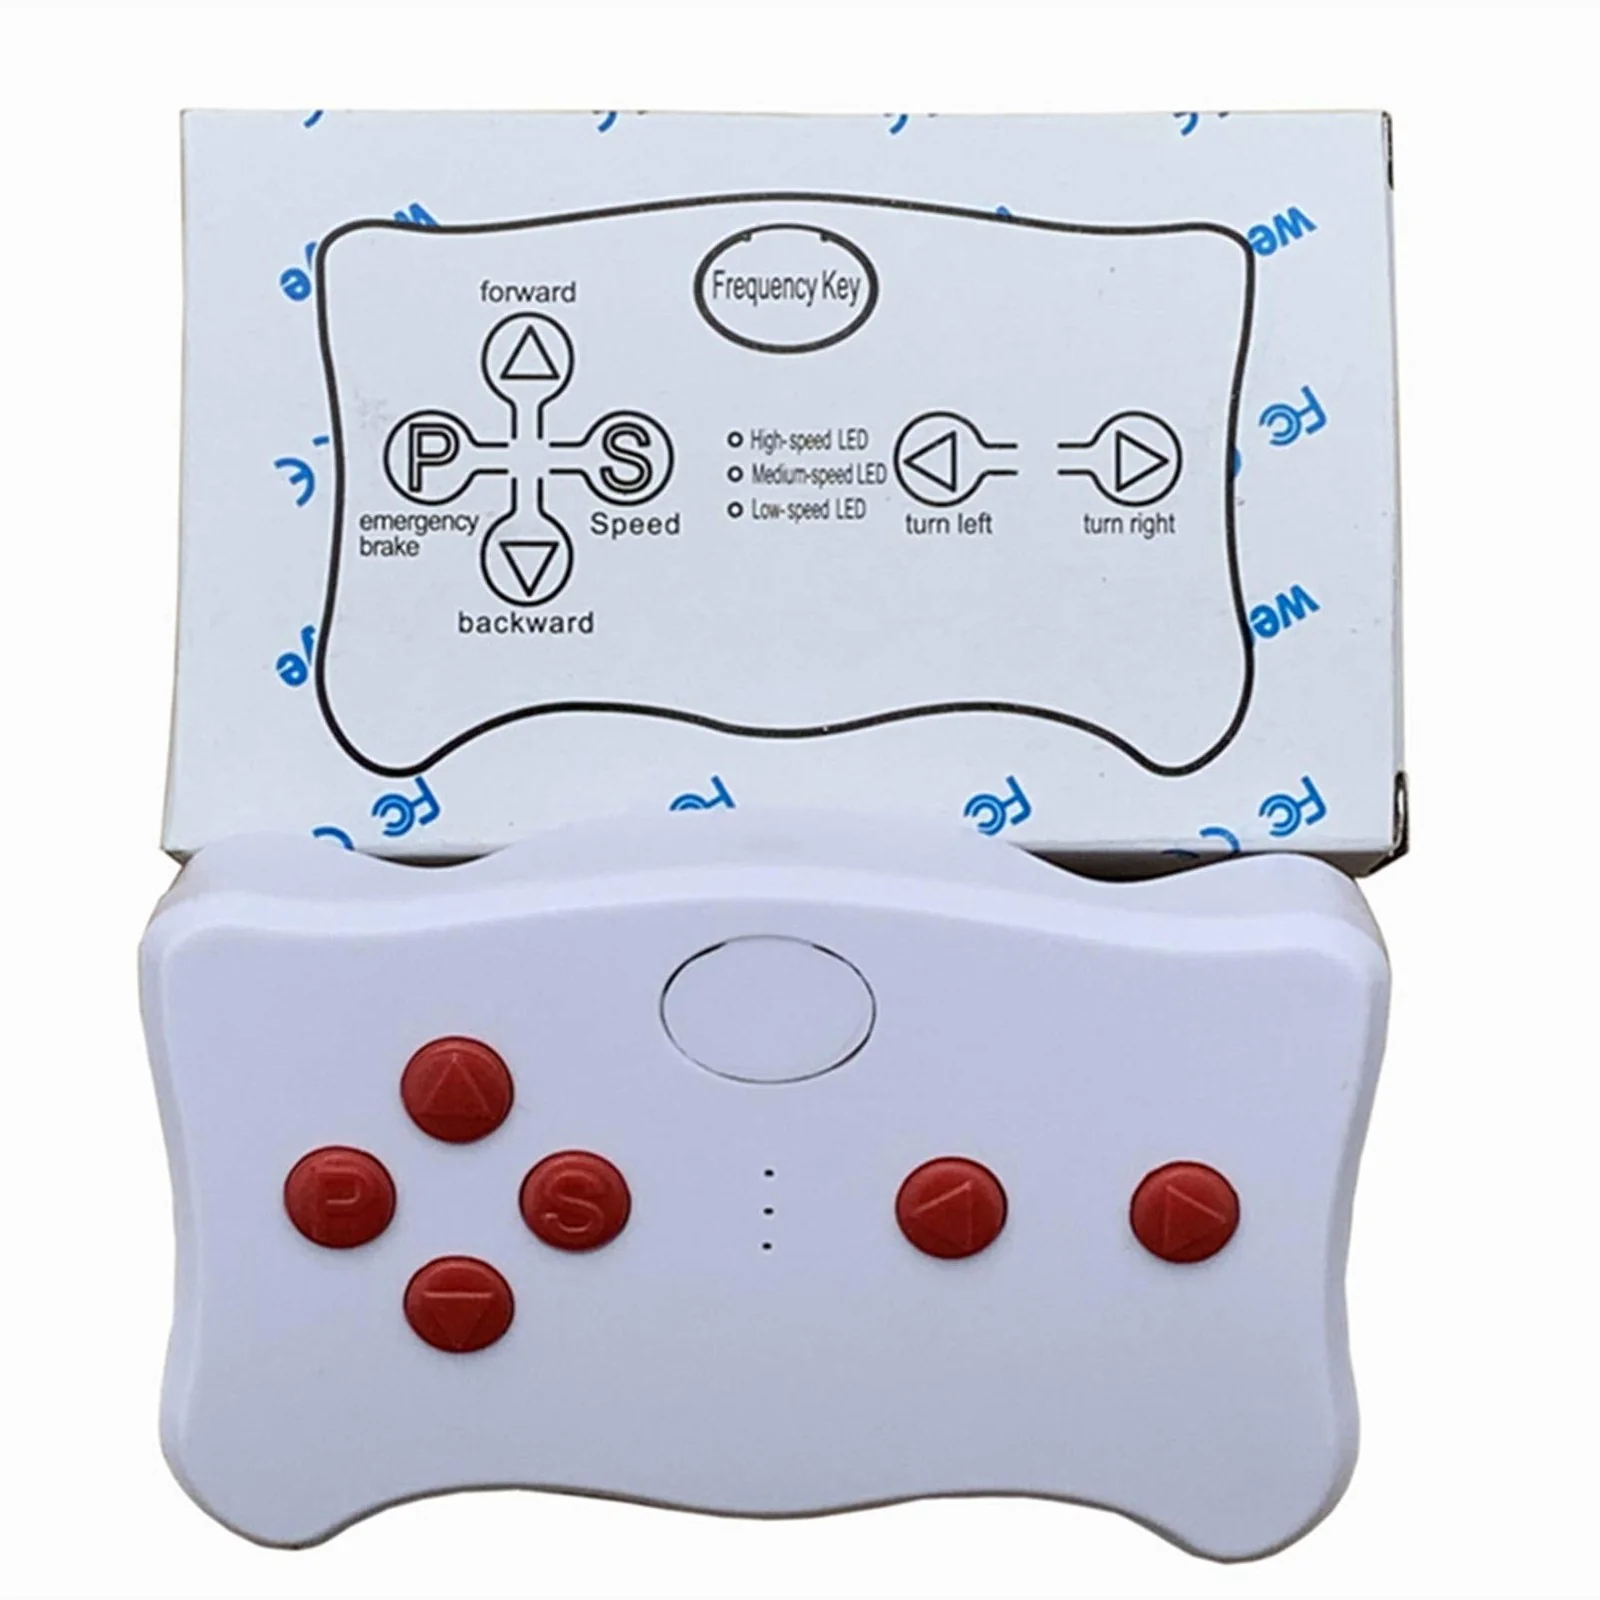
- Includes a 24V high-power motherboard and a 2.4G Bluetooth remote control with slow start function.
- Features a Wire Harness Conversion Kit; requires a 24V battery (not included) for Kid's Ride On Toys Power Wheels Upgrade.
- Complete set of accessories: Remote control, Control Box (Circuit Board), Wires, Switch, Pedal, Overload Protector, Charging Port.
- Equipped with high speed and low speed switch; all cables utilize one-button installation sockets for easy replacement, maintenance, and installation.
Installation Instructions
To ensure compatibility with your car's control box, open your broken electric ride-on car and check the control box appearance. If it matches, it should fit your vehicle.
Frequency Matching Steps
- Install two AAA 1.5V batteries (ensure correct polarity) and close the battery cover; the indicator will flash three times to confirm correct installation.
- Press and hold the frequency key (car select) for about 2 seconds until the indicator flashes.
- Turn on the power supply of the car; the indicator will turn off if matching is successful.
- If the indicator does not turn off, repeat steps 2 and 3.

Details & Craftsmanship
Every detail has been carefully considered to bring you the perfect product.

Details & Craftsmanship
Every detail has been carefully considered to bring you the perfect product.

Details & Craftsmanship
Every detail has been carefully considered to bring you the perfect product.

Details & Craftsmanship
Every detail has been carefully considered to bring you the perfect product.
Details & Craftsmanship
Every detail has been carefully considered to bring you the perfect product.

Details & Craftsmanship
Every detail has been carefully considered to bring you the perfect product.
Description
24 Volt Children Electric Car DIY Modified Wires and Switch Kit
Product Details
- Includes a 24V high-power motherboard and a 2.4G Bluetooth remote control with slow start function.
- Features a Wire Harness Conversion Kit; requires a 24V battery (not included) for Kid's Ride On Toys Power Wheels Upgrade.
- Complete set of accessories: Remote control, Control Box (Circuit Board), Wires, Switch, Pedal, Overload Protector, Charging Port.
- Equipped with high speed and low speed switch; all cables utilize one-button installation sockets for easy replacement, maintenance, and installation.
Installation Instructions
To ensure compatibility with your car's control box, open your broken electric ride-on car and check the control box appearance. If it matches, it should fit your vehicle.
Frequency Matching Steps
- Install two AAA 1.5V batteries (ensure correct polarity) and close the battery cover; the indicator will flash three times to confirm correct installation.
- Press and hold the frequency key (car select) for about 2 seconds until the indicator flashes.
- Turn on the power supply of the car; the indicator will turn off if matching is successful.
- If the indicator does not turn off, repeat steps 2 and 3.